how to make images accessible

Chantel Keith
3 minutes
As the internet evolves to become more and more accessible (and given the recent Supreme Court ruling), it’s important to ensure that not only your website’s content is accessible, but your images are as well. Strategically placed images can provide a great way to communicate information to your users; however, for visually impaired users, these images become a barrier when they’re not accessibility compliant.
By default, the majority of websites are built to accommodate alternative methods for conveying image’s information. Today, we’ll be reviewing how to convey this information and how to implement it on your website.
step 1. choosing your image’s keywords
Generally, images tend to convey three types of information: simple, complex, and decorative. Depending on the type of information, you’ll want to define the image accordingly:
simple information:
For images conveying simple information, you’ll want to choose keywords that can effectively communicate the content and functionality of the image as concisely as possible. These keywords will be placed in your image’s “alt” attribute.
<img src=”pancakes.jpg” alt=”A stack of pancakes with syrup, blueberries and butter on top.”>

complex information:
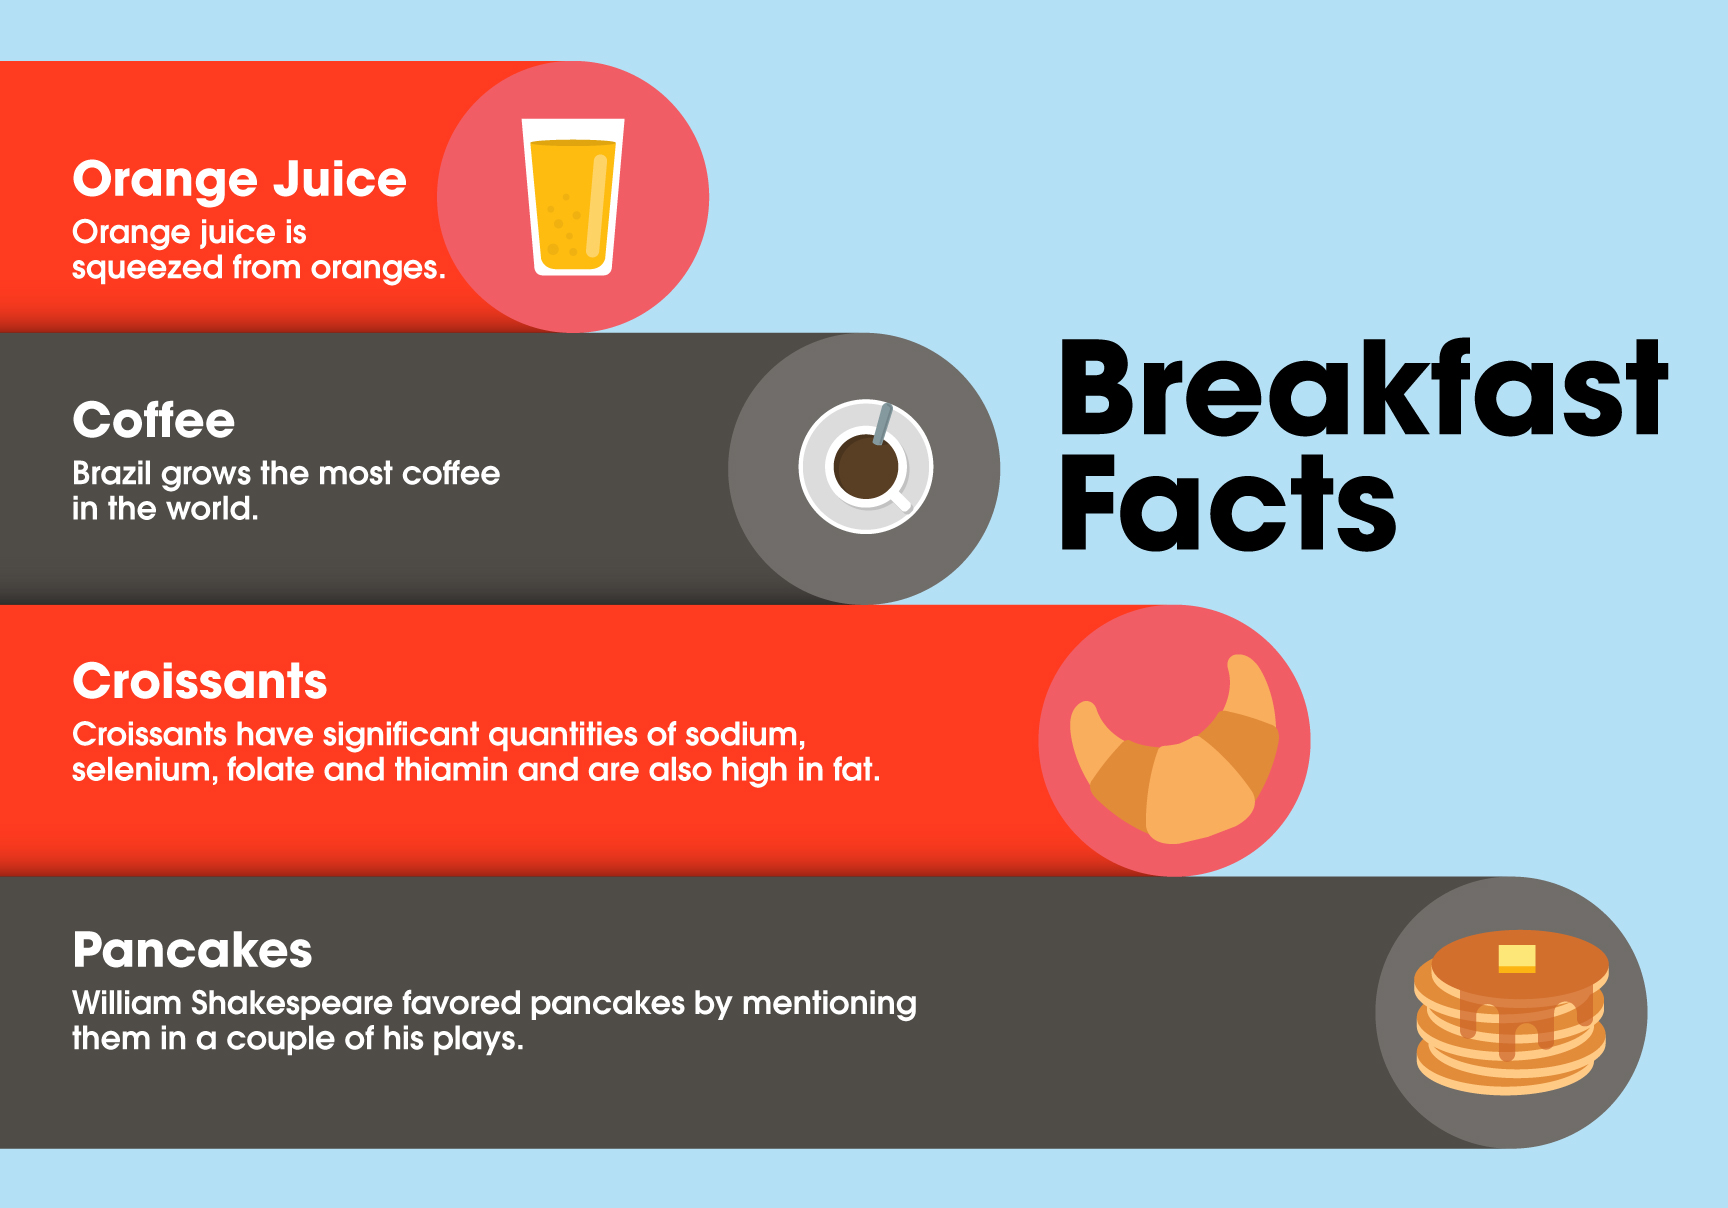
For images communicating complex information, you can link to a longer description using the “longdesc” attribute. This attribute should point to a URL on a separate page and/or an anchor link which leads the user to a longer description of the image.
<img src=”infographic.jpg” alt=”An infographic talking about facts” longdesc=”#breakfastfacts”>
decorative purpose:
If your image is purely decorative, it is recommended to leave the alt text blank which will instruct screen readers to ignore the image.
<img src=”abstract.jpg” alt=””>

Screen readers will then process your images “alt text” or alternative text and read your image’s keywords to the user. In the event that your image fails to load on a visit, its alternative text will be displayed in this instance as well.
step 2. implementing keywords
Depending on how your website was built, there are various ways to configure your images’ alt and longdesc attributes. We’ll be showing how to hard code these attributes as well as how to populate them via a content management system, such as WordPress. Most of those have some type of media library to handle and organize images.
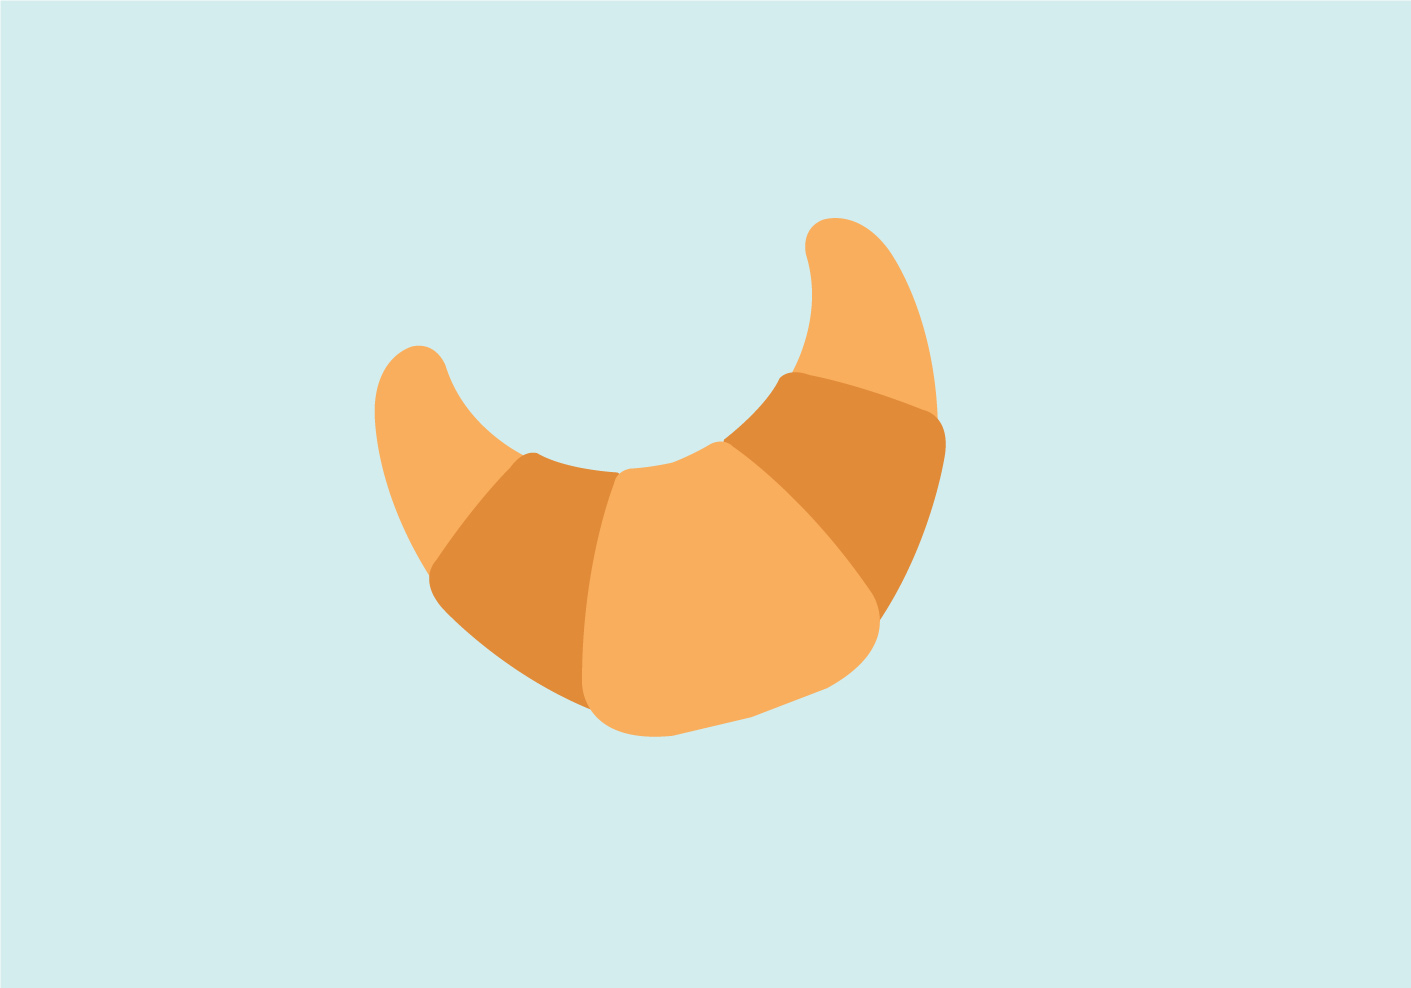
hardcoding alt text and/or long descriptions:
<img src=”croissant.jpg” alt=”An illustration of a croissant” longdesc=”/#croissant”>
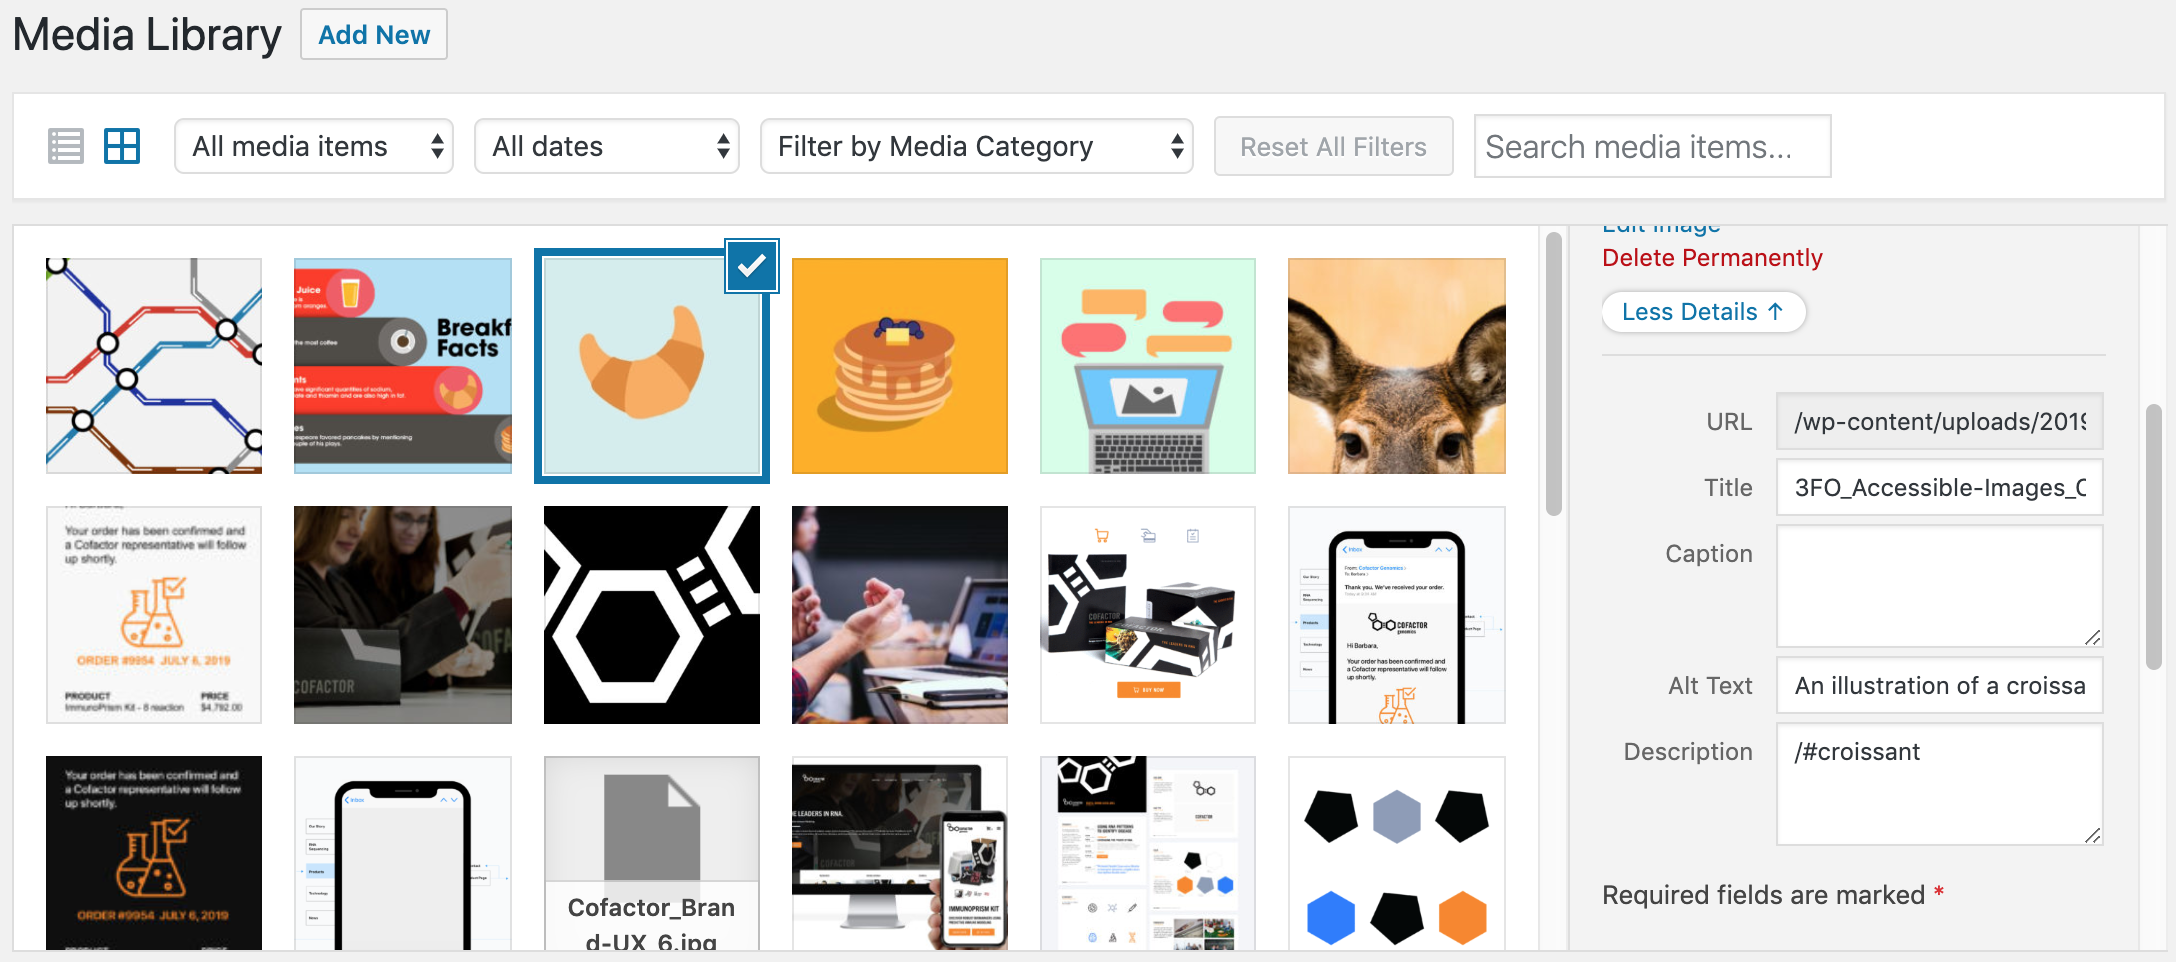
adding via a content management system, such as WordPress:
Navigate to your content management system’s media library. Search for and select the desired image, click either the edit icon to open the attachment details – or – select the thumbnail & expand the “More Details” button in the right sidebar as illustrated below. Lastly, fill in the “Alt text” field with your keywords and the “Description” field with your long description references.
And that’s it! At 300FeetOut, we strive to make our websites accessible to as many users as possible each and every day. We hope that after reading this tutorial, you’ll be equipped with the knowledge and tools to keep your website’s content and images accessible, too.
More
insights
©2026 300FeetOut All Rights Reserved | Privacy Policy