Optimizing Media for the Web, Part 1

Rex Vokey
6 minutes
I think most of us will agree: having good imagery and video on your website always makes the experience better. But you can’t just take a beautiful photo or video and dump it on your site; you need to get it ready first. Not only will a big image sloooow down your site to the point it’s unusable, but it can stretch it or shrink it so you actually make the experience worse, not better. And although many modern content management systems (CMS) will scale your images down for you, it’s much better to take care of this in advance.
I’ve posted on this previously, but want to drill down a bit more on which image format is best for the web, and why. When we say we’re optimizing an image for the web, here’s what we mean: find the best possible combination of size and quality. The file size (measured in kilobytes we hope) of the image has to be small. Ideally the image is of such quality that a user glancing at it cannot tell it’s been optimized.
dimensions
This is the first thing you need to figure out about your image – what dimensions does it need to be for where it’s going to be displayed? There are design considerations here, such as what’s the focus of the image and what aspect ratio it needs to be to seen best, within the constraints designed on your site.
1. aspect ratio and orientation
Here’s a really basic example. You don’t want to upload an image or video like this:

or this:

When the site was designed for an image oriented like this:

The first image would made it really WIDE in that container and the second square would make it really squished.
2. absolute image size in pixels
Should you upload the largest image possible so users can get super high quality viewing? In most instances, no. If the page was designed to encapsulate an image up to a certain size, anything above that is just wasted. Cameras now can take images that can be blown up to billboard size, most website screens aren’t that big so it’s just overkill. The only partial exception to that is high-resolution displays, like Apple’s Retina displays, which display images at approximately twice the pixel density.
However, for photos, you’re still not getting that much benefit even if you scale your image up for those displays. For things that really need to have maximum sharpness, such as your company logo, it’s recommended those get saved in a vector format, which we’ll cover in the next post on image formats. But for the sake of our examples here, let’s assume you’re putting an image into a blog post, like I am here.
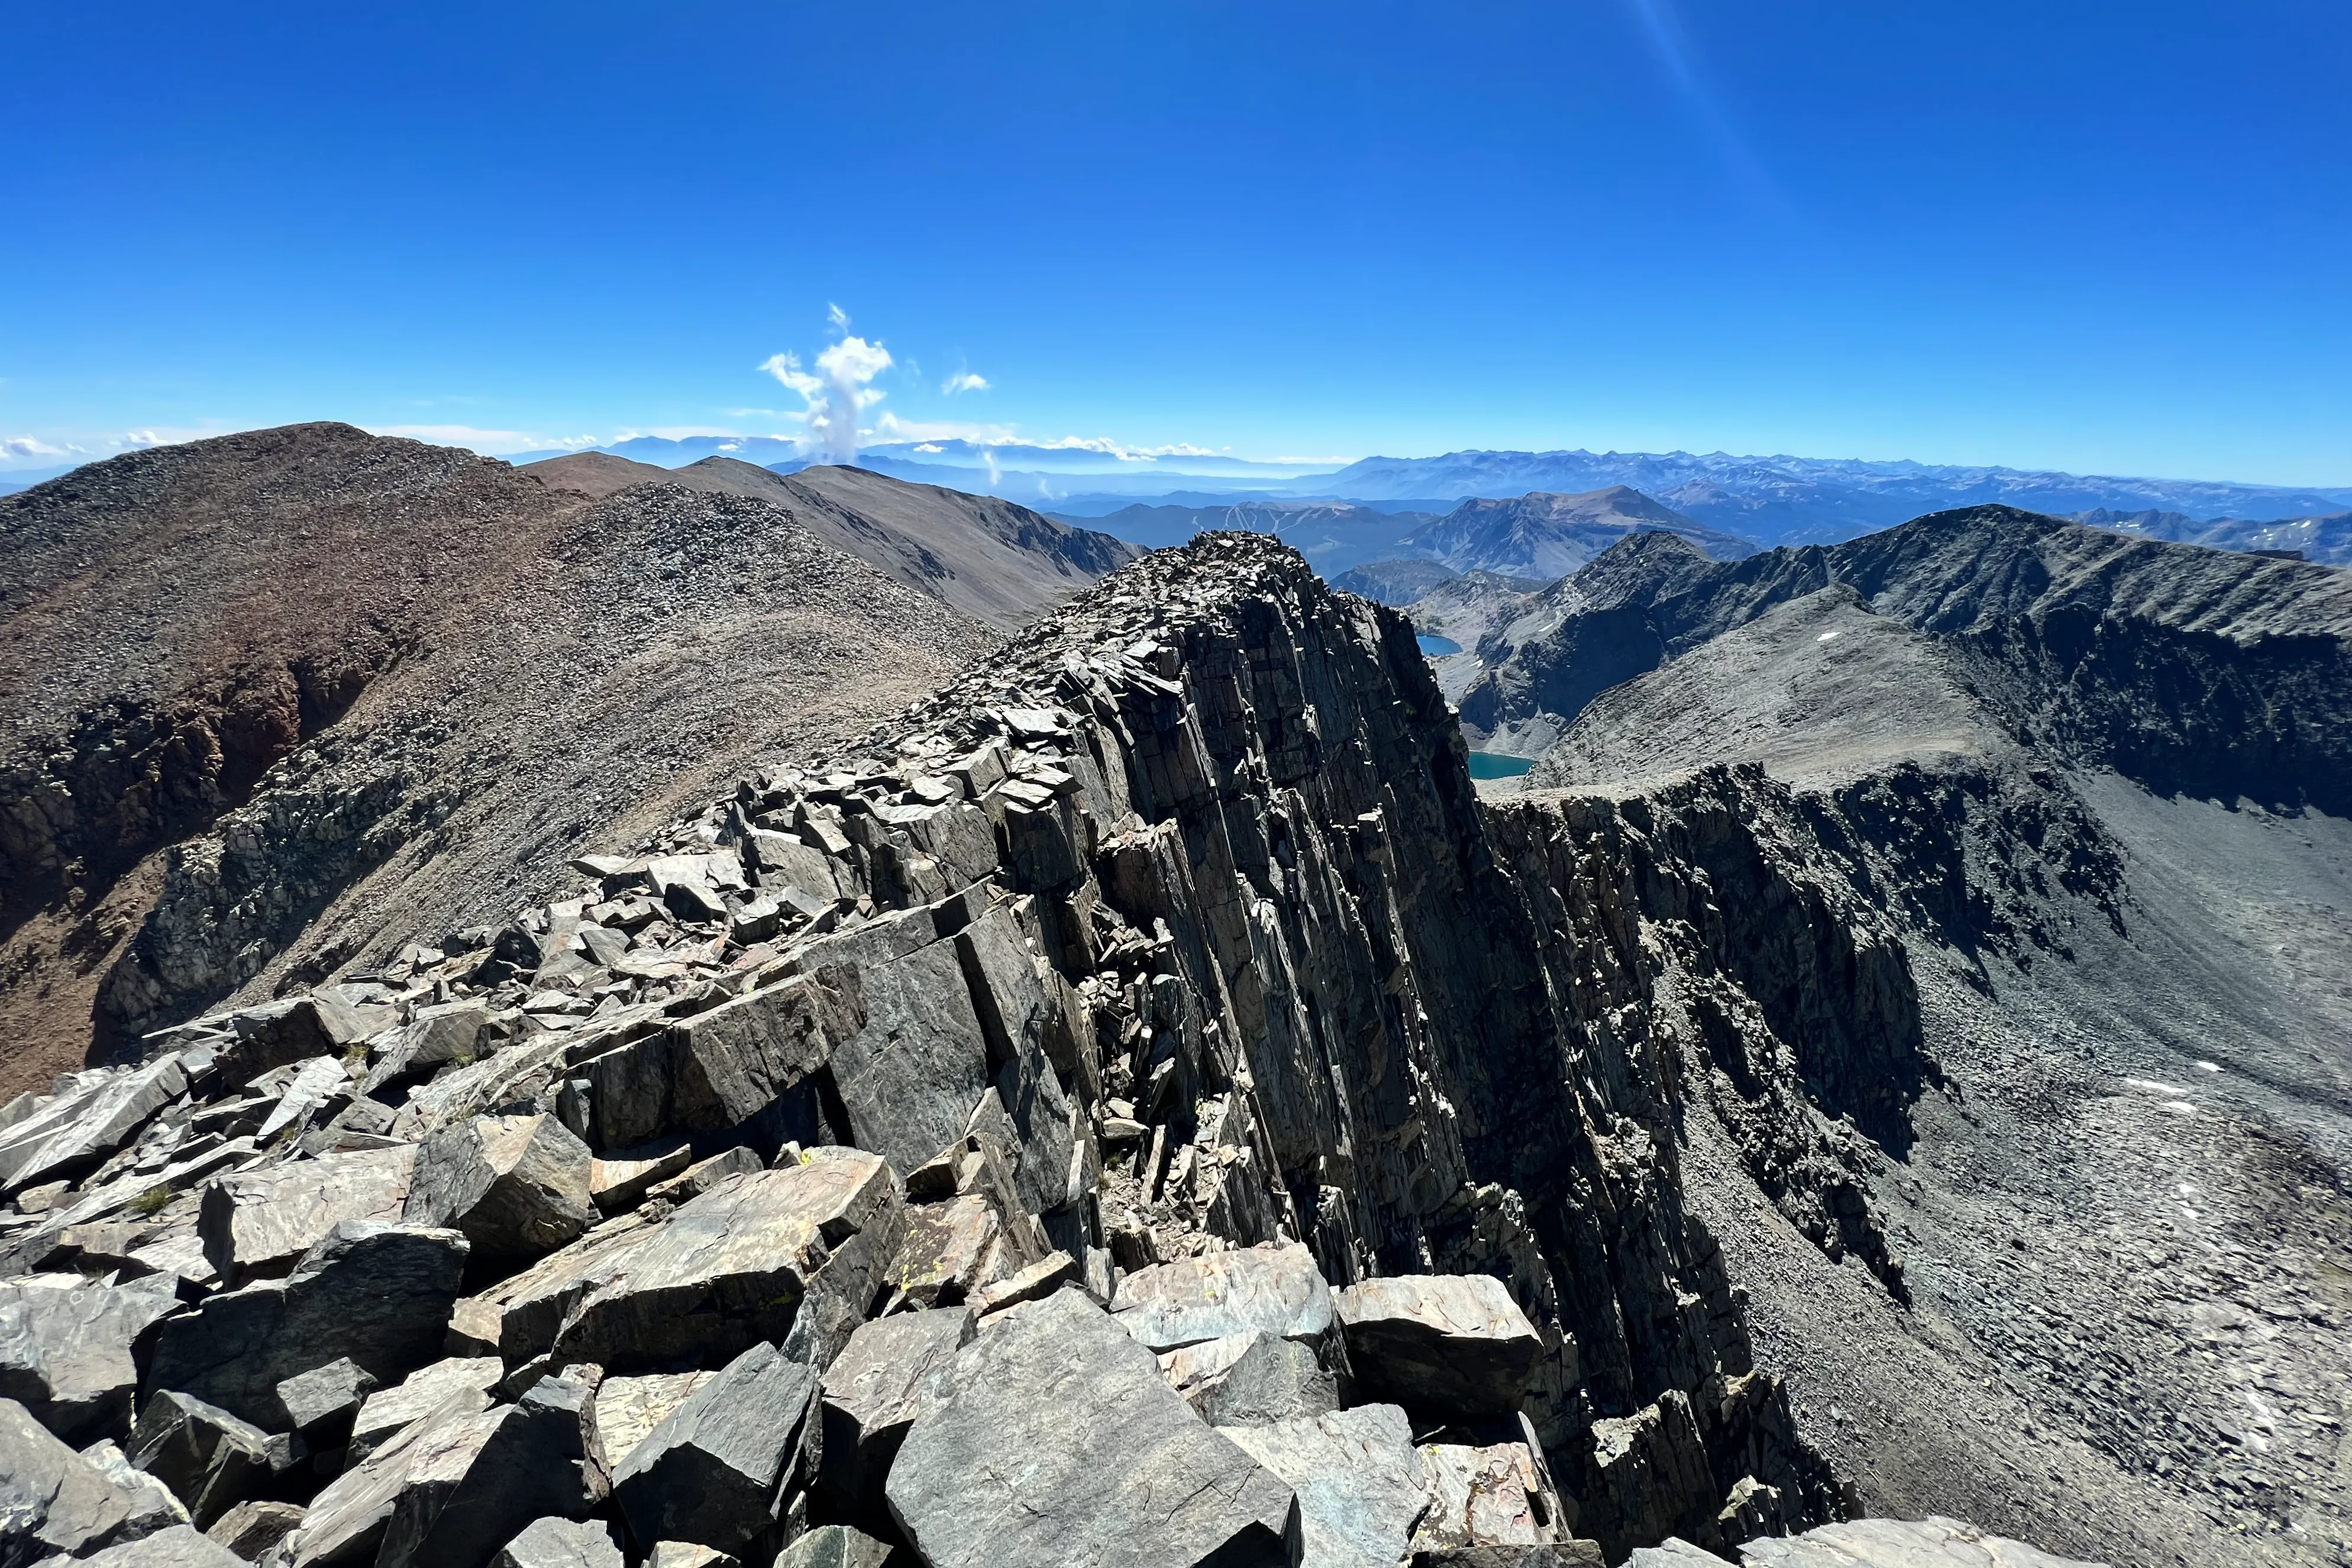
The above image takes up over 1800KB – lots of information. This is great if you’re trying to zoom in on every last detail available. And maybe sometimes you are! But that is a rare exception. As you can see, the image has been constrained to the dimensions available within this blog post, so all of the extra data isn’t used. What should be done is to upload it at a size that’ll fit this blog post nicely. In this case, that’s about 1200 pixels. How do I know that? Well, we built this site and we know the image specs. But another way to find out is to use a screenshot tool to measure it. Make the browser window wider and measure how many pixels across the text area measures. You don’t have to get this perfectly – just close enough.

Now this image only uses about 330KB. It loads quickly, looks good, and has a good level of detail. If I wanted people to have an even sharper image on their Retina displays, I could upload it at 2400 x 1600 pixels:

Most people aren’t going to see a difference in quality and/or detail between those above images. Go ahead – if you have one, pull it up on your retina display and let me know!
automatic image processing
You might be thinking – “do I really need to worry about any of this stuff? Isn’t my CMS (content management system) going to handle this for me automatically?” The answer is yes – to some degree. Your site is going to scale images down if needed, and a lot of sites even provide basic image editing capability. But it’s better to think about this beforehand, so you have maximum control over the final result and so you can get the highest quality result. The CMS isn’t perfect and can still give you a very wonky image.
Stay tuned for the next blog post in this series, where we’ll cover the fascinating topic of image formats. There’s a fundamental shift happening on the web, with the AVIF and WebP formats becoming the winners in high-quality, efficient images. I’ll tell you how you can do things with this format, and what we’re already doing for you!
More
insights
Lorem ipsum dolor sit amet, consetetur sadipscing elitr, sed diam nonumy eirmod tempor.
©2025 300FeetOut All Rights Reserved | Privacy Policy