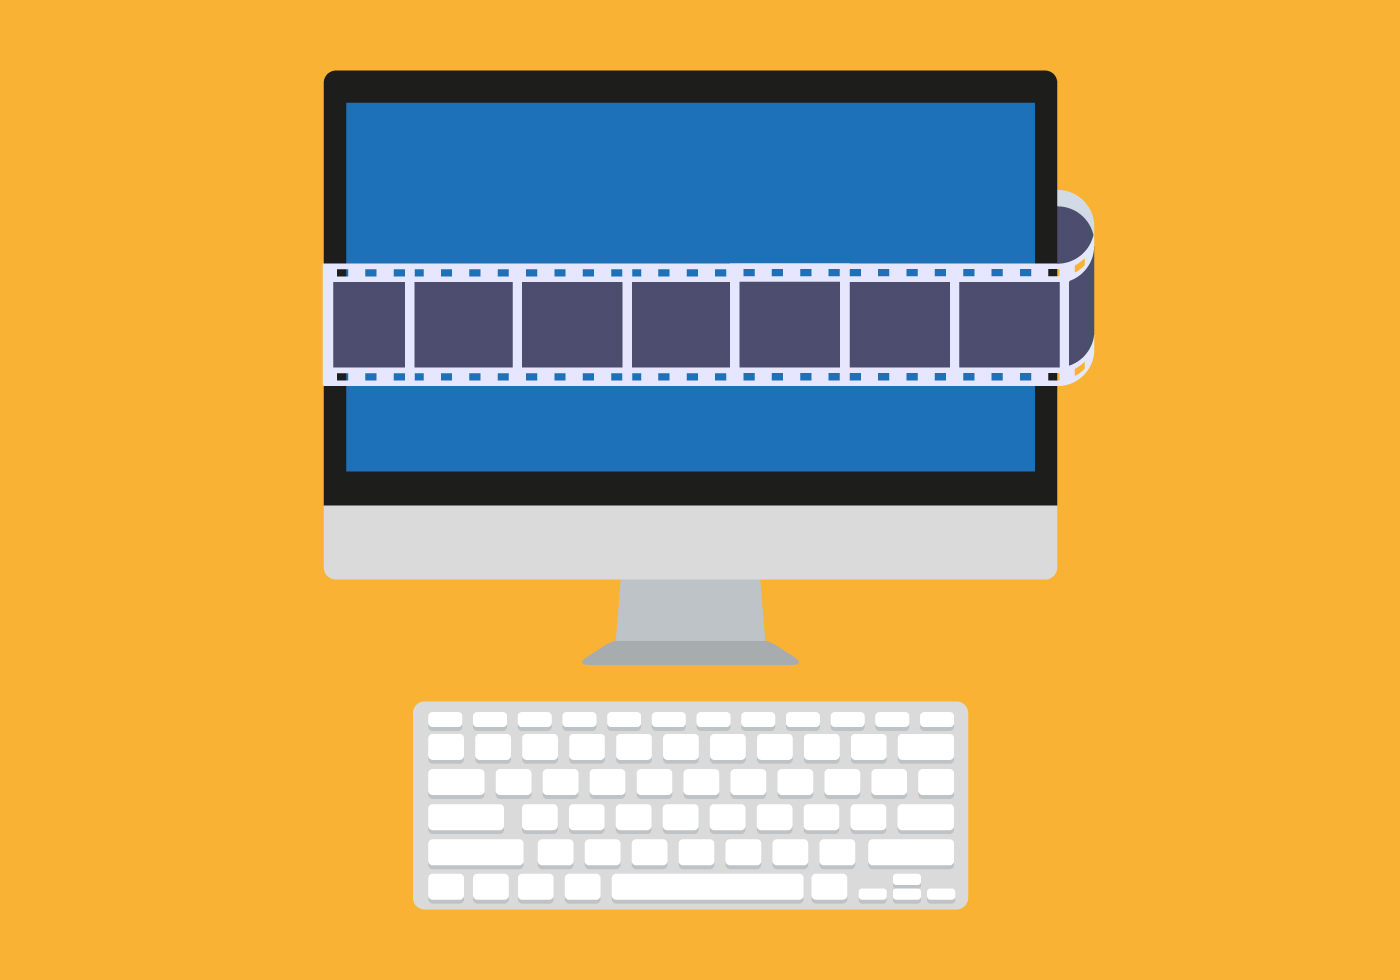
video on websites & how not to screw it up part 3: web presentation
Rex Vokey
2 minutes
This is the final in a three-part series for intermediate content creators and web developers. We’ve already covered video user experience and Video Preparation and Export. Once your video is ready for the web, you need to get it onto the site. This isn’t an in-depth how-to, but some tips we’ve learned in the process.
make sure you’re not showing video controls.
Never show video controls (play, pause, etc). Since you’re auto-playing and it’s only background video, adding controls would be distracting. However, elsewhere on your site, you should consider including an option to pause all motion on your site, for those needing it for accessibility reasons.
loop that loop.
You can loop your video continuously to give the impression that the video is longer than it really is… but don’t loop forever: endlessly looping videos can affect users’ CPU usage and slow down page interactions. Write a script that will pause the video after a certain number of loops or seconds.
offer more than one format.
MP4 is now supported on all major browsers, but it can be good to offer WebM, too. Check out the compatibility grid for MP4 and WebM. Here’s a great article by Mozilla on web video.
if all else fails, have a backup.
Mobile devices do not play video by default. Have a backup still image of the video available, using the “poster” attribute.
be friendly to browsers that don’t support it.
Have some nice text in the video tag as a fallback – something better than “Your browser does not support the video tag.” Consider something more like “This is a video, but your browser doesn’t support it. But don’t worry! You can try downloading it here: <link to video>.”
We hope you found these video tips useful. Video on websites can be a game changer for customer interactions and branding but only if you use it correctly.
More
insights
©2026 300FeetOut All Rights Reserved | Privacy Policy